Rooting Android Device with Magisk
Rooting is the process of allowing users of smartphones, tablets and other devices running the Android mobile operating system to attain privileged control (known as root access) over various Android subsystems. As Android uses the Linux kernel, rooting an Android device gives similar access to administrative (superuser) permissions as on Linux or any other Unix-like operating system such as FreeBSD or OS X.
Rooting method depends on phone manufacturer. Some of them provide unlocked bootloader, thus allowing to boot custom firmware. Some manufacturers require special agreement, where end-user loose phone warranty. Sometimes bootloader is locked by manufacturer and nothing can be done with that.
In case of unlocked bootloaderuser is able to boot custom firmware and modify root filesystem by simply adding su binary. In case of locked bootloader, it’s more complicated. Attacker have to find and exploit vulnerability in software, which will grant regular user admin rights. This could achieved by exploiting weaknesses in highly privileged services or kernel.

Rooting Android Device Using Magisk
- Download the firmware from official website of your mobile corresponding to your device model.
- Go to folder
imageand copy theinit_boot.imgfile to theinternal Storageof the device. - Download and install latest
Magisk ManagerApplication in the phone.
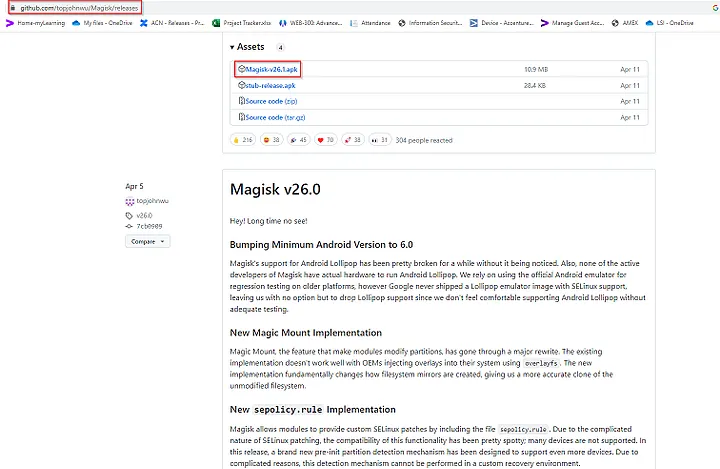
The Magic Mask for Android. Contribute to topjohnwu/Magisk development by creating an account on GitHub.
Download latest version from github Releases · topjohnwu/Magisk
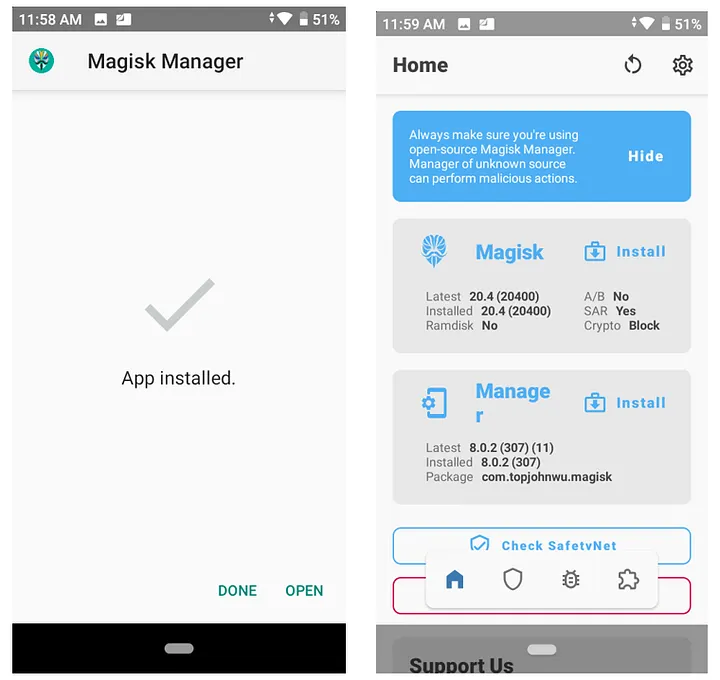
- Update the application to install latest version.
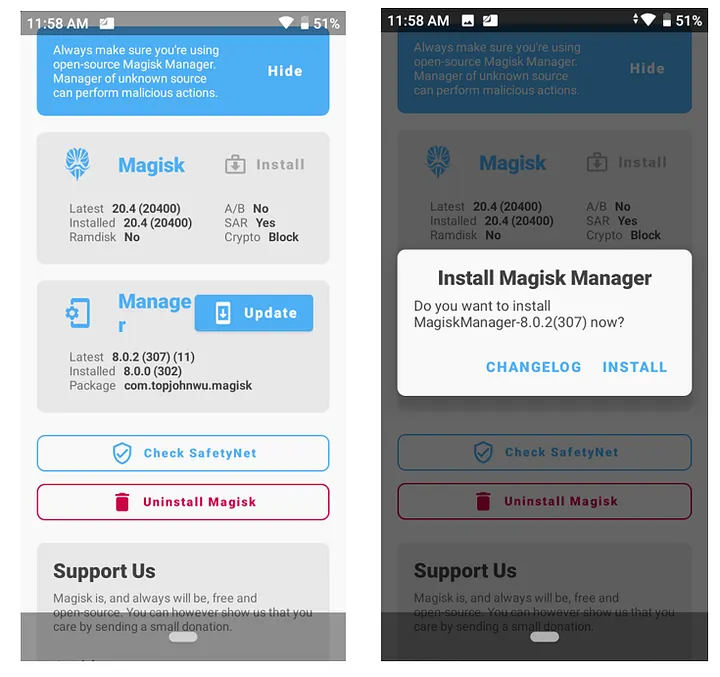
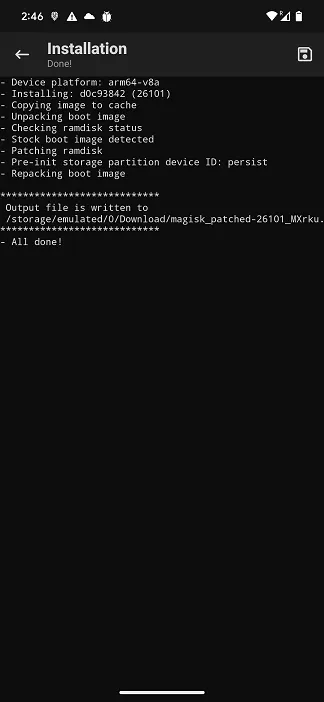
- Tap on
Installoption.
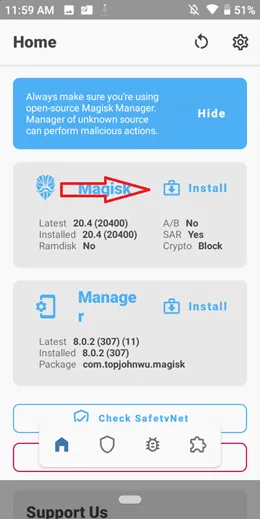
- Select
Select and Patch a fileoption and select theinit_boot.imgfile.

- Now it will Patch the file and keep a new one in the Download directory of the internal Storage.
- Copy the patched file to the system where
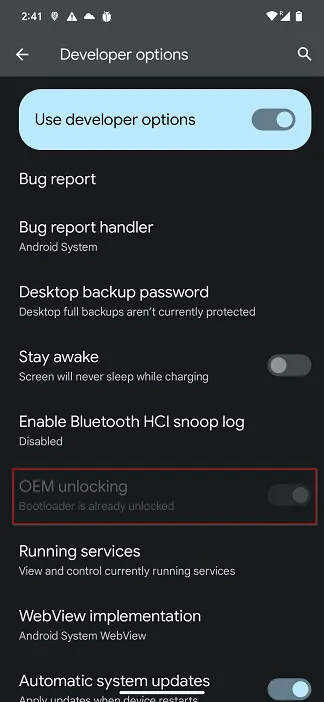
fastbootis installed. - Now go to
settings -> Developer Options -> Enable OEM Unlocking.
- Now Enter the command in kali to check for the connected device.
- Now enter below command to get into “fast mode”
-
Connect the Android devise using usb cable in kali and then run the below command to check the device is detected in “fastboot”.
Check if device connected to the system -
Enter the below command to unlock the bootloader
Flash the init file with fastboot -
Note that the flashing process is completed, enter the following command to reboot.
Reboot your device
Enjoy, your device is rooted now. Check the device root status with Root Checker app.